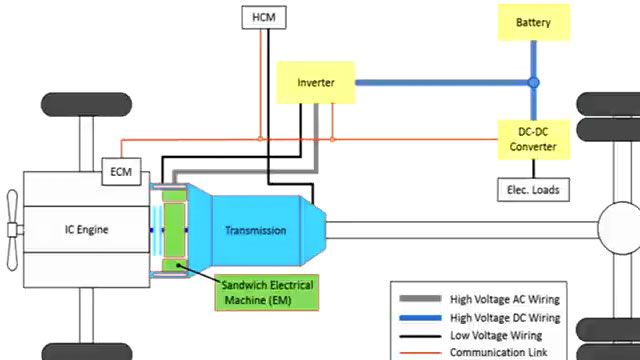
In this video, we’re going to implement the field-oriented control algorithm on the embedded microcontroller. We’ll spin this brushless PMSM motor which we’ll control using the Texas Instruments LaunchPad processor and DRV8305 inverter module. We will use the same model that we used to run simulations. On the right-hand side, we see the different sample rates we have in our model. The current loop is running at 50 microseconds and the speed loop is running ten times slower. Then we also have the serial receive subsystem that gets the data from the host model running at 10 Hz. Now, we’ll go to the hardware tab and click on the settings. We see that we have configured the model to generate code for the Texas Instruments F28379D processor and we’re using Embedded Coder to generate code.
If we look under the current control subsystem, we see that this model contains algorithmic blocks from Motor Control Blockset such as Park and Clarke blocks and also the driver blocks from C2000 support package. When we generate code from this model, Embedded Coder generates both the algorithmic and driver code. All the code is then automatically compiled, and target application is downloaded to the processor. Let’s go ahead and do this by pressing “build, deploy and start” button. This starts the code generation process. We can see the progress in the diagnostic viewer. We see that the code is being generated and a project is automatically created in the Code Composer Studio IDE. By clicking here, we can open the project and debug from the IDE. We can now see that the application has been downloaded to the target and we’re ready to spin our motor.
现在,我们对微控制器进行了编程,让我们打开在笔记本电脑上运行的主机模型。该模型使我们可以使用此旋钮为电动机设定所需的速度,在该旋钮中我们在RPM中指定速度参考。通过此开/关开关,它还使我们可以指定电动机何时开始旋转。该模型接收信号,例如速度和从目标应用程序串行端口上列出的电流,我们在此范围中绘制每个单元的归一化值。要启动主机上的执行,我们转到“仿真”选项卡,然后按运行。我们在右侧看到范围中的测量值。让我们开始通过打开开关开始旋转电动机。我们看到电动机速度如何开始跟踪参考。让我们尝试将参考速度设置为一组不同的值并观察电动机响应。我们上升到电动机基线速度的0.8。 And now let’s try a step change from 0.8 of the baseline speed to a much lower speed value. And here’s another step change to higher speed. After checking the performance of speed tracking, let’s look at the currents. From this menu, we choose Id current. To better see the current waveform, let’s open scope settings and change the time span to 0.1 second. We see that Id current is kept at zero. Next, let’s look at Iq. Finally, we can take a look at the phase-A and phase-Bcurrents.
In this video we showed how you can use Motor Control Blockset and Embedded Coder to generate code that is running at 20 kHz on the target microcontroller and controlling a brushless PMSM motor. This concludes the demo.